
Diecast Guides
How to Restore a Diecast Car and Keep It Display Ready
Nov
A worn diecast model can still earn a place on your display shelf. This diecast car restoration guide helps you decide whether to refresh a favourite, then work through its paintwork, wheels, windows and decals before carefully taking it apart for cleaning and repair. The aim is to improve its appearance while preserving the details that make it yours.
It’s tempting to start with the paint, but patience can protect delicate parts and help you understand what the model needs. Whether you’ve found a treasured old car or want to bring a well-loved piece back into view, assessing its condition is a satisfying first step.
This guide walks you through assessing the model, preparing your workspace, documenting and disassembling its parts, and restoring the finish. You’ll also find practical ways to keep the finished model clean and ready to display, so the enjoyment doesn’t end when the tools are put away.
Key Takeaways
- Assess each part before choosing repairs, so your restoration preserves the model’s defining details.
- Photograph and organise components as you take the model apart to make reassembly more manageable.
- Match replacement tyres to the wheel rims and apply paint in thin layers for a neater finish.
- Keep your restored model away from direct sunlight and moisture to help maintain its display-ready appearance.
Assessing paintwork, wheels, windows, axles and decals
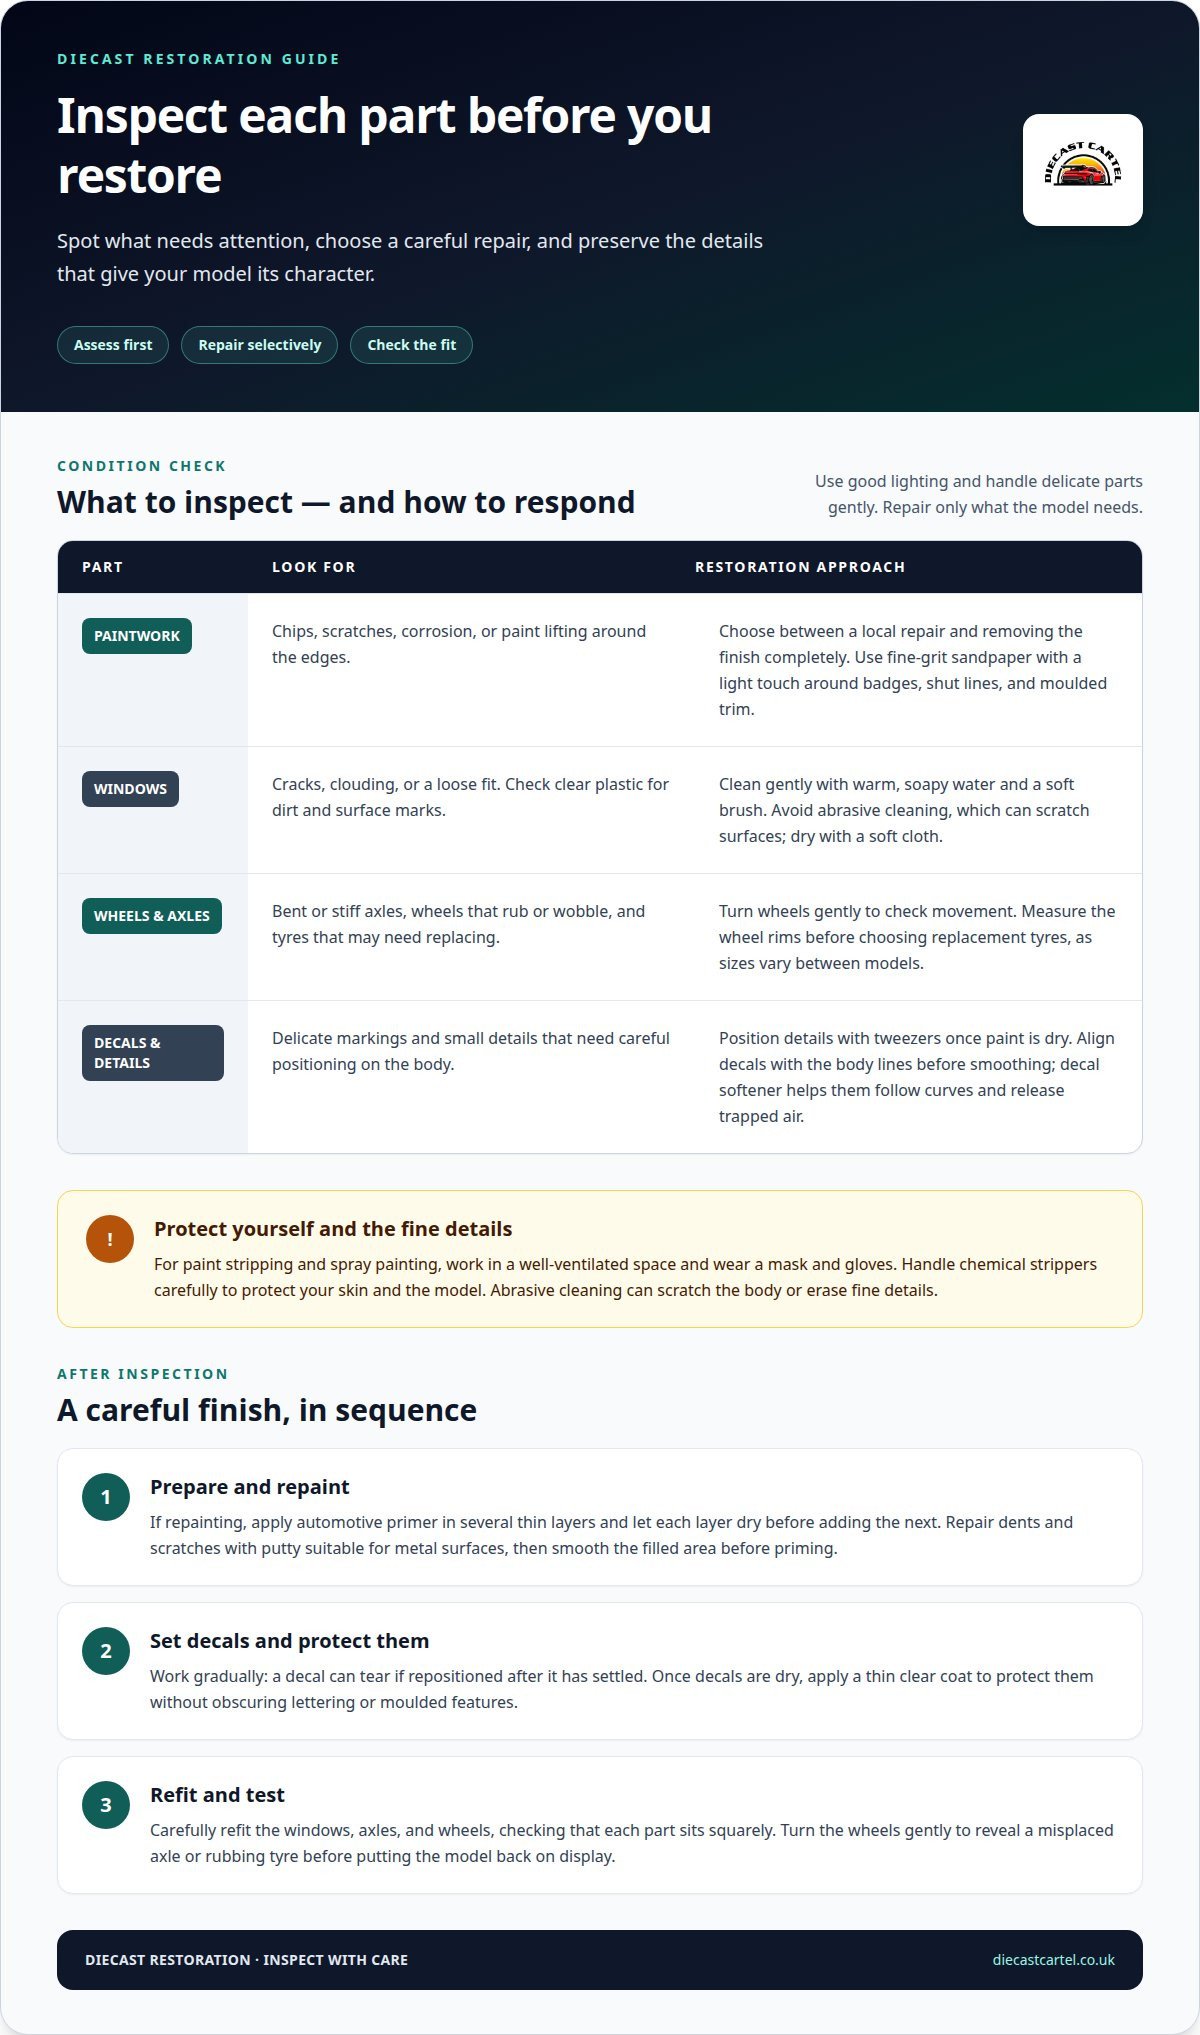
In this diecast car restoration guide, assess each component before deciding what to repair. A careful inspection helps preserve original details and focuses your work on the areas that need attention.
For paint stripping and spray painting, work in a well-ventilated space and wear a mask and gloves. Handle chemical strippers carefully to protect your skin and the model.
-
Inspect paintwork and model parts
Inspect the body under good lighting for chips, scratches, corrosion and paint lifting around the edges. Check windows for cracks, clouding or a loose fit, and examine each axle for bending or stiffness. Turn the wheels gently to spot rubbing or wobble. If tyres need replacing, measure the wheel rims first, as tyre sizes vary between models.
- Decide whether the finish needs to be removed completely or repaired locally. Fine-grit sandpaper can gradually remove paint, but use a light touch around badges, shut lines and moulded trim. Abrasive cleaning can scratch the body or erase fine details. For repainting, apply automotive primer in several thin layers, letting each one dry before adding the next.
-
Add fine details and decals
Add small details after the fresh paint has dried, using tweezers to position delicate pieces. Before smoothing down a decal, align it with the model’s body lines. Decal softener helps markings conform to curved surfaces and release trapped air bubbles. Work gradually, as a decal can tear if you reposition it after it has settled.
- Once the decals are dry, apply a clear coat to protect them and create a seamless finish. Keep the coat thin so it doesn’t obscure lettering or moulded features. Carefully refit the windows, axles and wheels, checking that each part sits squarely. Finish this stage with a gentle wheel-turn test to reveal any misplaced axle or rubbing tyre.
Introduction: Why restore your old diecast models?
Restoring a diecast model can bring a well-loved piece back to your display while preserving its character. Start by documenting its condition, then clean and repair only what it needs.
- Photograph the model from every side before restoration. These pictures record its original condition and help you remember how details, wheels and trim fit together.
- Prepare a soft work surface before disassembly, then place screws and small parts in labelled containers. This helps prevent delicate components from getting lost or damaged as you work.
- Remove dirt from the metal body with a soft brush and warm water. Wash separated parts in warm, soapy water, then dry them thoroughly before continuing with cleaning or repairs.
- Plan your budget around the model’s condition, the tools and materials you already have, and any replacement parts needed. These requirements determine the total restoration cost, so there’s no single useful figure for every model in the UK.
- Remove old paint gradually with fine-grit sandpaper, taking care around moulded details and edges. Chemical strippers can also remove paint, but handle them carefully to protect both the model and your skin.
- Repair dents and scratches with putty suitable for metal surfaces, then smooth the filled area before priming. Ease bent components back carefully rather than forcing them. Secure a loose or broken plastic detail with a small amount of super glue.
- Gently clean chrome parts and clear plastic windows with warm, soapy water and a soft brush. Avoid abrasive cleaning, which can scratch surfaces or remove fine details. Dry each piece with a soft cloth.
- Once cleaned parts are dry, review your photographs and labelled containers before reassembly. If you’re adding another shelf companion, explore diecast model cars for inspiration.
Displaying and maintaining restored models
Finish the restoration by reassembling the model, checking its moving parts and choosing a stable display position. A simple care routine helps preserve the refreshed finish.
Hobby and model-making retailers are places to find restoration supplies in the UK. To search for a model-specific replacement, identify the maker, model, scale and part shape first.
- Match replacement parts to the original model before buying. Compare the manufacturer and model name, then check the part’s shape, fitting points and position. A wheel from another car may look similar but fail to fit the axle or bodywork.
- Use your original photographs and labelled components to guide reassembly. Fit the interior and windows into the body before joining it to the chassis, then install the axles and wheels. Keep each part aligned, and stop if a fitting resists rather than forcing it.
- Test the completed model on a level surface. Roll it gently to check that the wheels turn without rubbing, then inspect the gaps around the body and windows. Correct any misplaced component before returning the model to its display shelf.
- Choose a display position away from direct sunlight and moisture. Sunlight can affect the finish, while damp conditions can damage parts over time. A stable shelf or cabinet also reduces the chance of accidental knocks while dusting.
- Dust the model with a soft brush, paying attention to wheel arches, grilles and other recessed details. Avoid abrasive cloths that could mark restored paint or decals. If grime remains, clean gently with a soft brush and warm water, then dry the model thoroughly.
- During routine cleaning, check for loose wheels, lifted decals or dust trapped behind clear windows. Address small issues early with the correct part or a suitable repair material. Record the model’s maker and identifying details to keep future replacement-part searches focused.
Disassembling the model
Take the model apart methodically, keeping each component organised for repair and reassembly. A soft work surface helps prevent small parts from rolling away or getting damaged.
- Before starting, set out screwdrivers in different sizes, tweezers and labelled containers. Use a well-lit, ventilated workspace, and place a soft cloth beneath the model. Good preparation makes small fasteners easier to see and gives fragile parts a safe place to rest.
- Study the body and underside to locate screws, joints and fixed fittings. Choose a screwdriver tip that fits each screw head, then turn gently to avoid damage. Keep screws from different areas in separate labelled containers so their positions remain clear.
- Remove accessible parts in a controlled order, such as wheels, axles and interior components. Lift each piece carefully rather than twisting it against the body. If a part resists, pause and look for another fastener or attachment point before applying pressure.
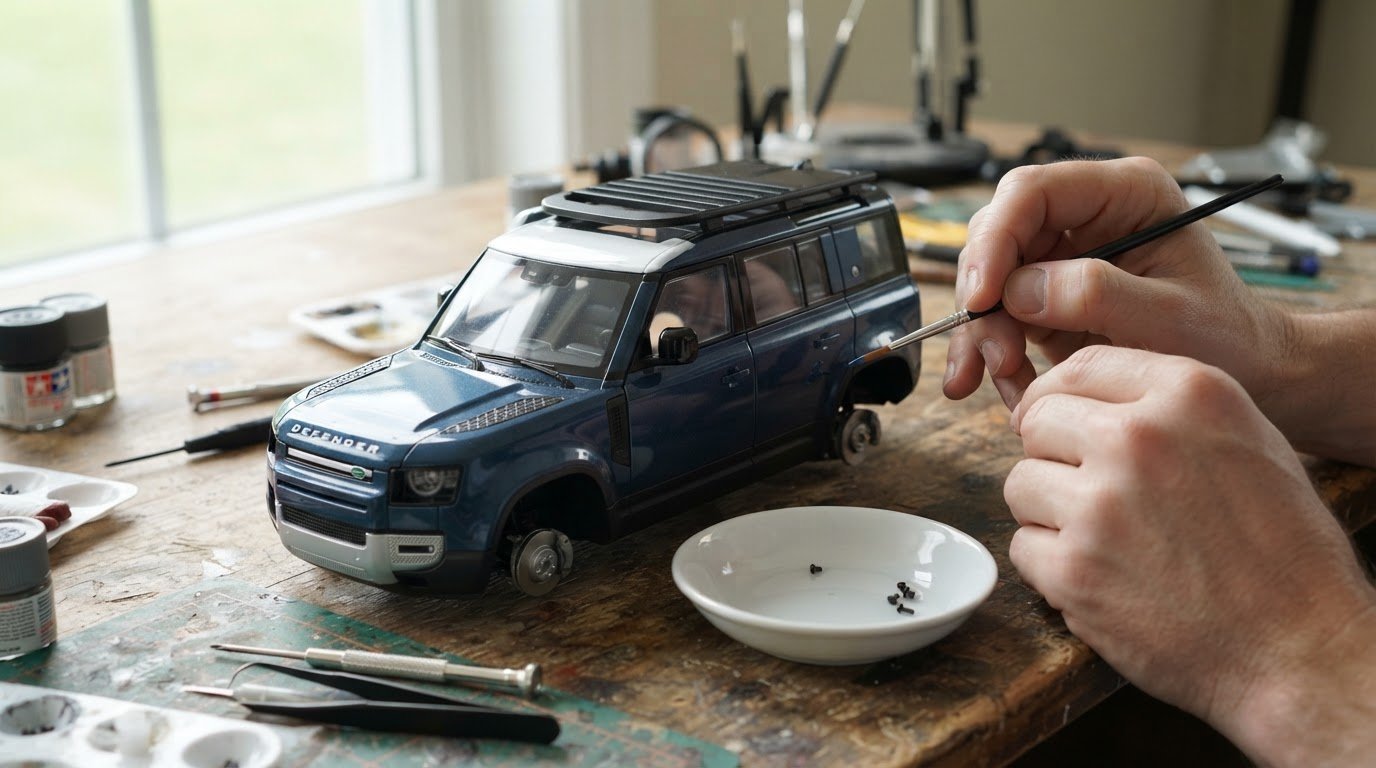
- Record small components as you remove them, including the four front lamp lenses where fitted. Photograph each stage or label parts by location. For example, a close-up of the front assembly can show which lens belongs on each side.
- Use tweezers to handle delicate fittings and place them in a shallow container straight away. Keep left and right components separate if their shapes differ. This helps prevent reversed fittings and makes each piece easier to identify later.
- Separate the body from the chassis only after removing the fasteners that hold them together. Support both sections as you lift, watching for interiors, windows or trim that may remain attached. Avoid levering against painted edges, which can chip during separation.
- Once disassembled, sort the pieces into groups such as body fittings, running gear and interior parts. Compare each group with your photographs before cleaning or repair. This inventory reveals missing or damaged components and provides a clear sequence for reassembly.
Diecast Cartel: 1:24 scale Diecast models and trucks
Diecast Cartel gives collectors a natural next step when restoration has renewed their enthusiasm for the hobby. If you’re looking to add another model to your display, explore its 1:24 scale diecast models and trucks, Diecast Trucks and Tractors, or 1:18 Scale Model Cars. These options offer a way to keep building a collection around the vehicles and scales you enjoy.
For a different kind of hands-on model, Diecast Cartel also offers a 1:24 Remote control Forklift. Consider which style best suits your collection, whether that means a display piece or a model with remote-control play. Restoring a favourite can make you see the details in every new addition differently. If you’d like to explore the range, contact Diecast Cartel.
Make your next model part of the story
A restored model can become more than a finished project. Let it guide what you look for next: a familiar body style, an unusual detail or a vehicle that brings a new character to your display. A small restoration notebook with sketches, paint choices and observations can also help shape future projects and make each one feel distinctly yours.
A useful diecast car restoration guide doesn’t have to prescribe a perfect finish. Your choices matter: preserving original character may suit one model, while a fresh look may work better for another. The pleasure lies in deciding what deserves attention and enjoying the process at your own pace.
If you’re ready to find another model for your collection, explore Diecast Cartel’s range. Keep your curiosity close, take pride in the details, and enjoy whichever project catches your eye next.
Frequently Asked Questions
What tools and materials are needed to restore a diecast car?
Choose tools and materials to suit the repairs. Small screwdrivers, tweezers, a magnifying glass, metal-suitable putty, brushes, primer, paint and super glue cover common tasks. Acrylic, enamel and lacquer paints can all be used on diecast models. The right choice depends on the finish you want and your working method. Keep parts and materials organised, and paint in a dust-free space.
How do you safely disassemble a diecast model car?
First identify how the chassis, body and fittings are joined, then use a screwdriver that seats properly in each screw. Work over a tray or soft cloth, moving one component at a time. Keep fragile lenses and trim apart from heavier pieces. If a joint won’t release with gentle pressure, pause and inspect for a hidden screw or remaining connection rather than levering it.
How do you prime, paint and apply decals to a diecast car?
Prepare the bare surface, then apply automotive primer as a base for repainting. Use thin coats of primer and paint, letting each layer dry before adding the next. This builds coverage without hiding details. Paint in a dust-free area to reduce specks in the finish. Position decals carefully, use decal softener on contours, and apply clear coat once they’re dry.
How do you reassemble a diecast car and replace rivets or axles?
Reassemble the model by following your photographs and fitting components in a controlled sequence. Axles need to sit straight, with the wheels clear of the body and turning freely. Rivet construction varies, so inspect how the original fastener holds the chassis before replacing it. Use a suitable replacement that secures the joint without pinching moving parts, then test the car on a level surface.
Is it better to restore a vintage diecast car or keep its original finish for collector value?
Keep the original finish if preserving the model’s character and originality matters most to you. Choose restoration when damaged paint or missing details stop you enjoying it as a display piece. Before changing an old model, photograph its condition and note distinctive markings or features. This record helps you decide thoughtfully what to preserve and what to refresh.
